
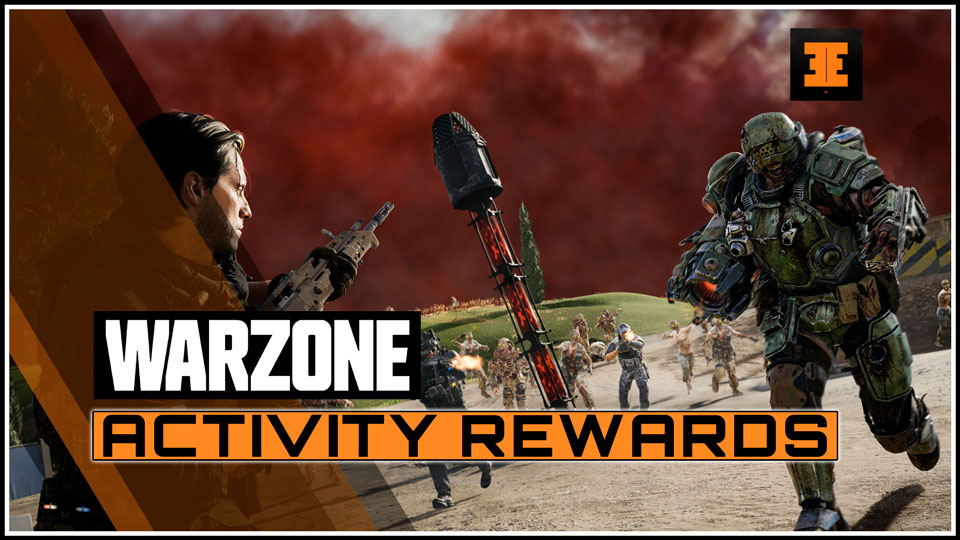
Black Ops Royale features lots of things to do, other than just eliminating your opponents. There are objectives you can complete around the map that will reward you for your time and effort. So let’s dive into all Enhanced Objectives, Activities, Cradle Breaches and Rewards in Black Ops Royale
Season 2 Reloaded of Black Ops will bring this new mode to light and it will be a welcome addition as players look for something new to play.
So let’s look at the different vehicles you’ll use to traverse Avalon, Black Ops Royale’s main map.
Target Uplink Station
- Summary
- A tactical station where squads can search for player bounties
- Rewards
- Bounty Target and enemy loot
Find and access a special security terminal, found at various fixed locations across Avalon. An Uplink Station becomes active around two minutes after a match begins, and it identifies a hostile target within its target radius. It prioritizes enemies that have not yet been hunted by rival squads. Once the identification has been completed, the Uplink Station cools down before it can be used again. The hunting squad, the bounty, and the bounty target’s squad are all alerted. The hunting team has three minutes to slay the bounty.
Surprise Shipment
- Summary
- Secure a reward from a Guild shipment container guarded by robotic enemies.
- Rewards
- Armor Satchel and loot
Abandoned Guild shipping containers are positioned across Avalon and are active at the start of the match. Each container has a proximity detector on its door lock. Get within mid-range distance, the Activity will commence, and the detector begins beeping. Get within close range, and the detector explodes, blowing the container doors open at either end. Inside is one or more hostile Guild enemies, including four G-series Guild robots, a Guild Rhino or a Guild D.A.W.G.
Surveillance Drone
- Summary
- Destroy a Guild Drone and its defenses to acquire loot.
- Rewards
- Additional Activity Reveals (and loot).
The Activity begins when a player approaches this airborne enemy or engages it in combat. When threatened, the Drone retreats and summons additional defensive support Drones that attempt to defeat the attacker. Defeating these support Drones is optional, but likely necessary due to their aggressive nature. But the focus should be to find the Guild Drone, attack it again. This time, it stands its ground, sending out another wave of up to five support Drones. Destroying the Guild Drone at any point concludes this Activity – check the wreckage for your loot.
Strongbox Crack
- Summary
- Obtain safecracking software and hack a safe to obtain high-level loot.
- Rewards
- Armor (Level 2) (and loot)
This begins as an unmarked Activity and requires you or a squadmate to obtain a Safecracker Drive with software on it. Next, locate a Guild Safe somewhere within Avalon, connecting the device and the safe cracking begins. Expect alarms to alert enemy squads to your presence. Around ten seconds after the hack begins, the safe opens, and the loot within the safe can be claimed by any squad within the vicinity.
Relay Antenna
- Summary
- Activate Guild hardware to scan for hostiles and launch a Redeploy Drone.
- Rewards
- Temporary UAV and Redeploy Drone.
A small satellite dish Relay Antenna within the area of battle and access the flip-up screen on the tripod housing to initiate capture of the device. Bringing this relay under your squad’s control takes around 30 seconds, and once captured, the Relay Antenna becomes beneficial to your team, with the following happening automatically:
- A sequence of UAV pings commences, centered on the Antenna site and expanding across the topography, tagging enemies within the range of the device.
- A Redeploy Drone and wire ascender activate close to the Relay, allowing for rapid redeployment. This stays active for around one minute.
Redeploy Tower
- Summary
- Revive previously slain squad mates by activating the tower.
- Rewards
- Squadmate(s) redeployment.
Overview: Aside from Redeploy Tokens, another method to call back your slain squad mates is to locate and commandeer special Guild comms towers, activating them to act as rift beacons to recall the fallen. Interact with the tower’s terminal and after a countdown — which can be shortened with more squad mates nearby — the tower activates. Via dangerous new technology, a jagged Cradle fissure appears in the sky above the tower, and any previously slain teammates revive and drop from this breach, back into the action. Note the status of a Redeploy Tower depends on its color:
- Blue: The Tower is ready to use.
- Yellow (flashing): The Tower is in use. Expect enemy engagements.
- Grey: The Tower is on a cooldown, recharging between uses.
Supply Drops
- Summary
- Care packages dropped across Avalon, containing potent loot when captured.
- Rewards
- Randomized high-value loot.
Watch the skies and the on-screen announcements as occasionally, a Guild plane flies across Avalon, dropping weighty supply crates along its straight flight path. Four of these crates are likely to land across the map and contain impressive loot if you can succeed in reaching and accessing them, making them an excellent location to reposition near during late-game maneuvers, or after a redeployment.
Ammo Cache
- Summary
- Locate a stationary pallet of ammunition and equipment.
- Rewards
- Ammunition and Equipment.
With the tendency to be found in places where low enforcement or military activity is expected (as well as gas stations), Ammo Caches allow you to refill your inventory just like they have in past Call of Duty: Warzone matches. As well as refilling the ammunition of the weapons you’re carrying, other inventory items (like Tacticals and Lethals) can also be extricated from this ammo refill.
Cradle Breach: Mangler
- Summary
- Slay a toughened Cradle Boss and secure impressive loot.
- Rewards
- Armor (Level 3) (and high-tier loot).
In this Activity, an enemy Mangler appears to patrol the zone, with toughened armor and dangerous firepower. Squad coordination is expected to take it down, as inflicting damage secures a reward. The squad that eliminates the Mangler (or a rival team that swoops in to claim the dropped rewards from the Mangler’s corpse) can grab some particularly high-tier loot.
Cradle Breach: Mystery Box
- Summary
- Defeat hordes of zombies and earn access to a strange, wooden box granting impressive loot.
- Rewards
- Exotic Weapons (and high-tier loot).
In this Activity, you should check the vicinity for a crackling beam of electrical light emanating skywards from an old wooden crate. Known as a Mystery Box, this loot chest is locked, and requires you to slay zombies in the vicinity before it opens:
- Any players (including enemy squads) within the Breach can open the Mystery Box, once they slay a set number of zombies.
- The Mystery Box can be accessed several times until the Breach dissipates, or the box has been looted a set number of times, after which it disappears.
- The random rewards for each box access range from low-tier offerings, health and replenishment items, but a sizable chance to secure an Exotic Weapon, and even the Ray Gun, just like in the original Blackout!



Leave a Reply